


10 Creative Ways to Decorate Paper Plates for Themed Parties

Turn Plain Plates Into Party Decor
A stack of plain paper plates is the most underrated craft supply in the party box. For the price of a coffee you can build a coordinated set of themed decor that looks intentional and photographs well — and when the party ends, it all goes in the recycling. This is a practical, tested list of ten ways to decorate paper plates for specific party themes, each one doable with items you already have or can buy for a few dollars. None require a craft degree, and all survive a room full of guests.
The trick is matching the technique to the theme. A safari party wants earthy textures; a unicorn party wants sparkle. Below, each idea names the theme it suits, the materials, and a five-minute method. Use one as a hero craft or run three at a kids' craft station. Either way, the plates pull double duty as both activity and decor.
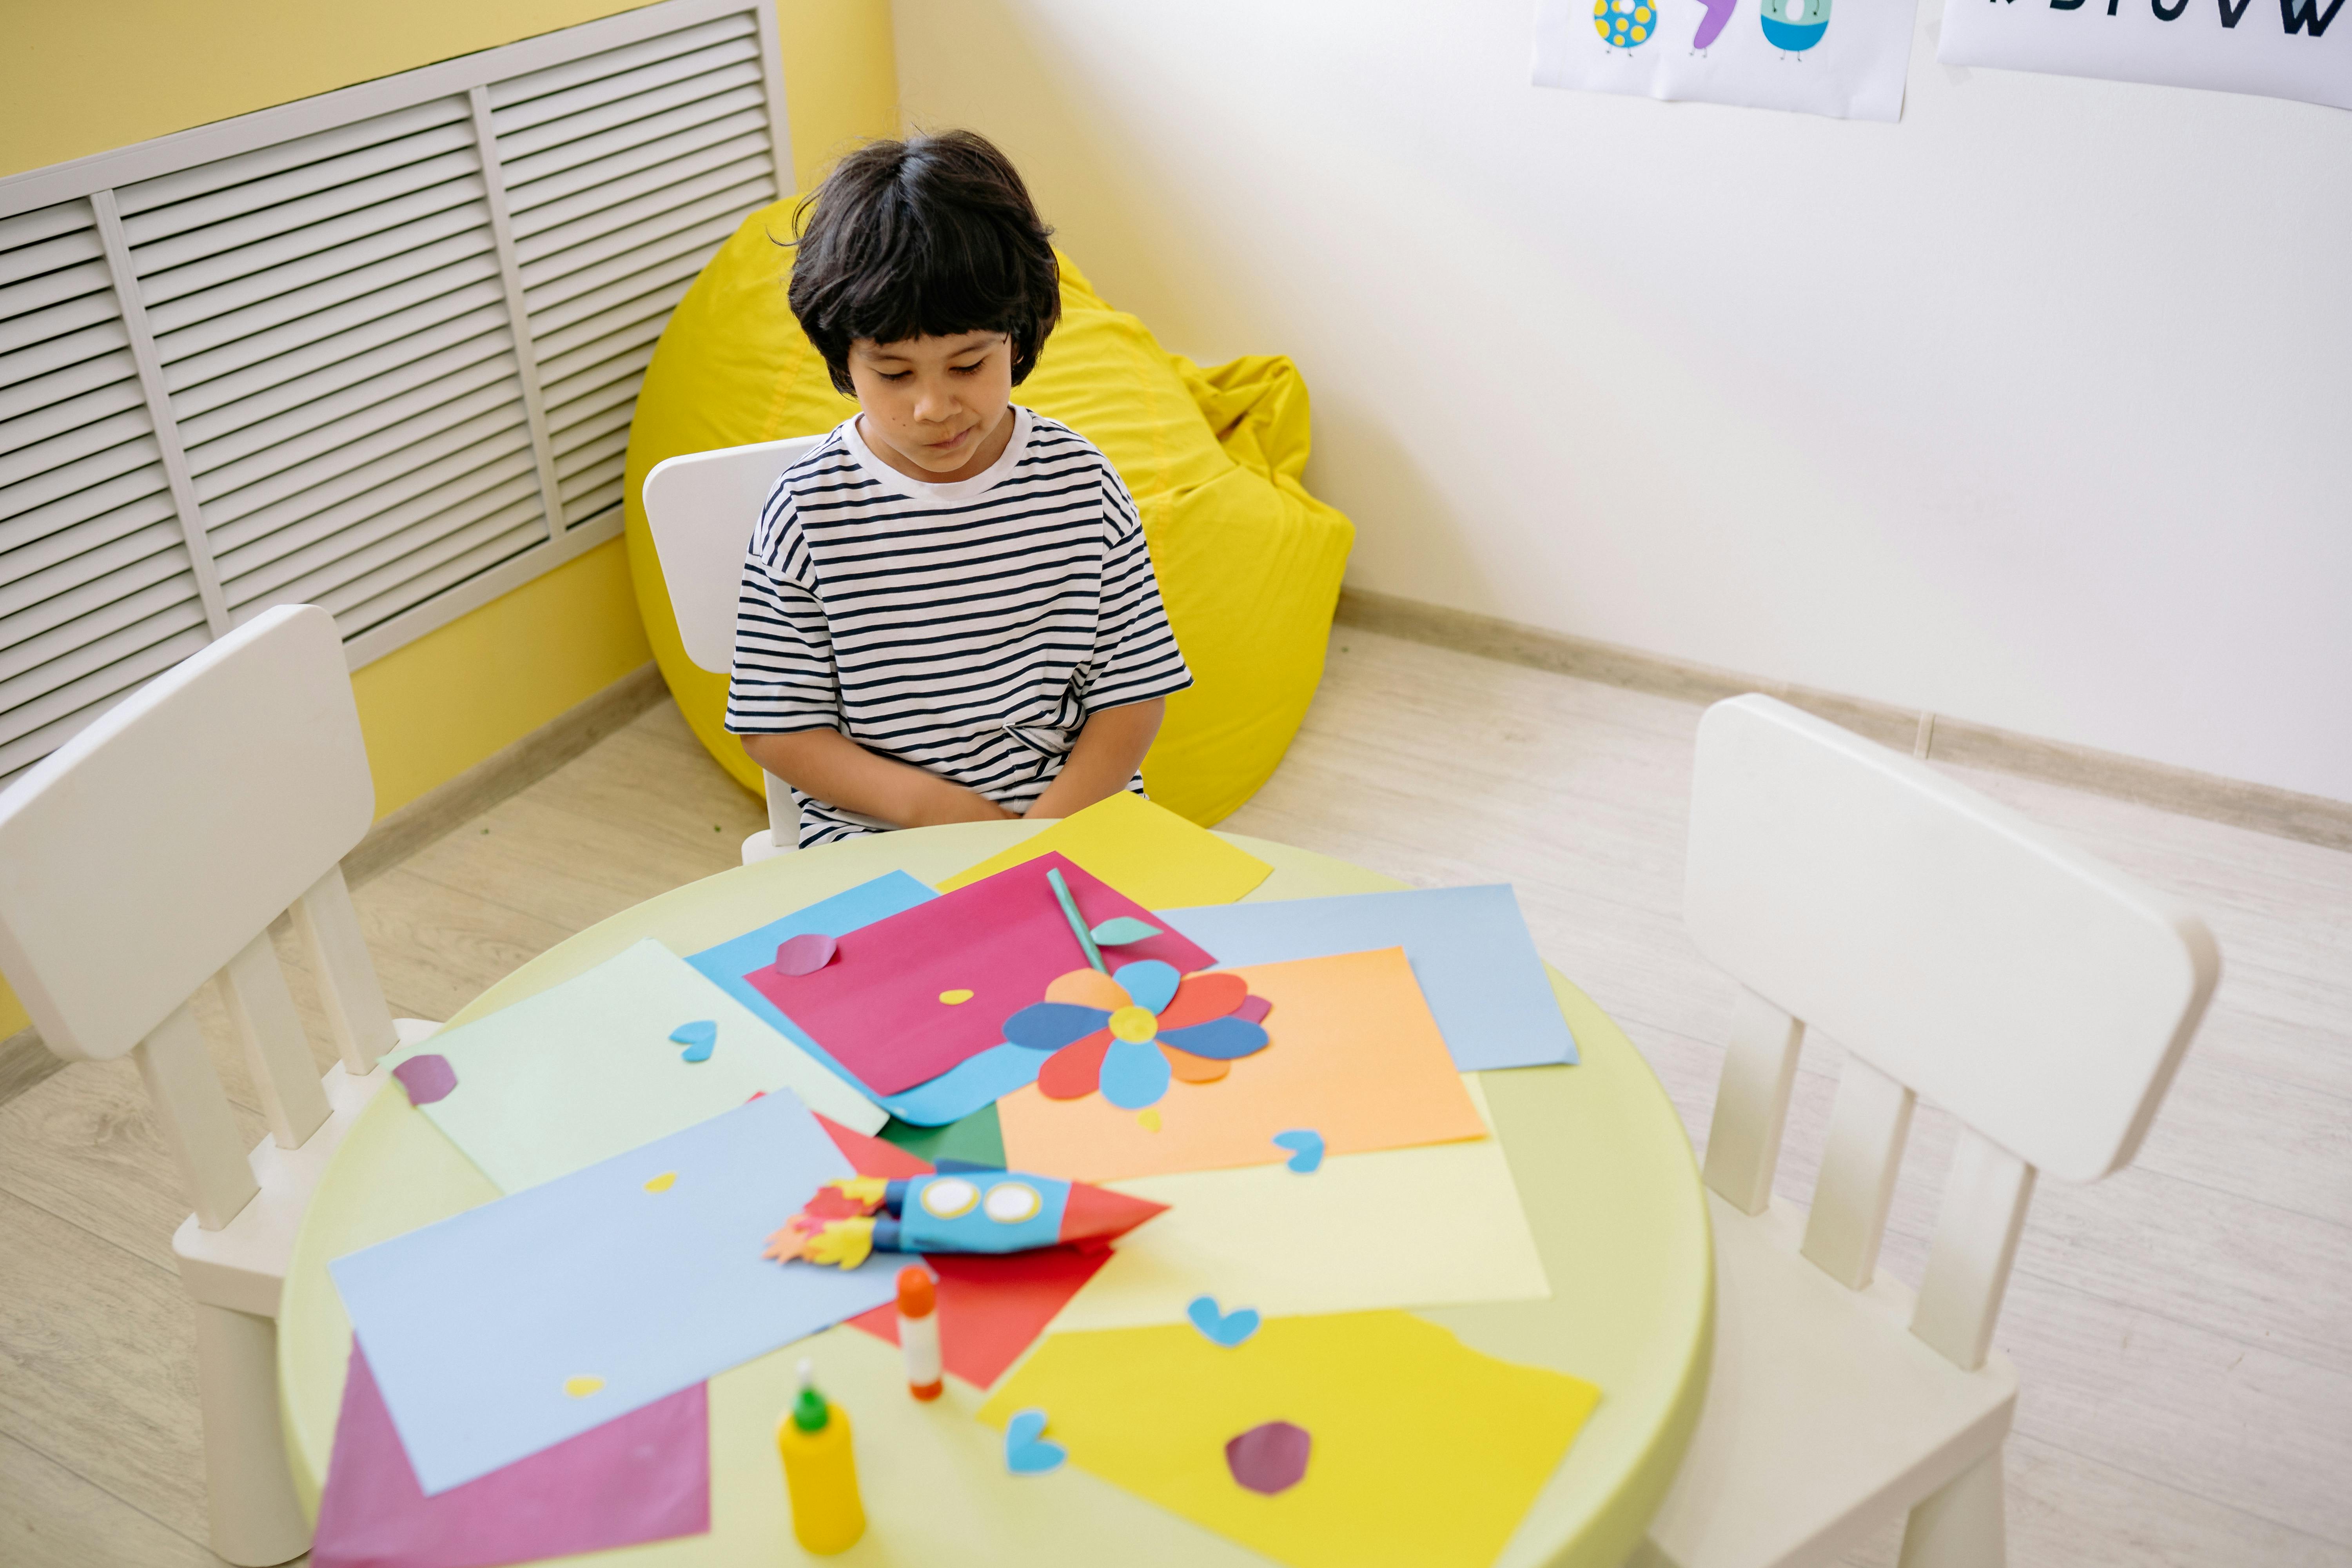
1. Safari "Animal Spots" Plates
Theme: safari, jungle. Materials: plain plates, brown and tan paint, a sponge, black marker. Sponge a base of tan, dab irregular brown spots with a crumpled paper towel, then outline a few with marker for definition. Stack them as a "zebra-and-giraffe" mixing set. They look deliberate and take two minutes each.
2. Unicorn "Horn and Mane" Plates
Theme: unicorn, princess, rainbow. Materials: plates, gold cardstock cone (the horn), pastel yarn or tissue strips (the mane), glue. Glue the cone at the top center and fan the yarn down one side. Scatter a dot of adhesive gem on the rim. These double as place cards if you write names on the back.
3. Mermaid "Scale" Plates
Theme: mermaid, under-the-sea. Materials: plates, fish-scale stencil (or a coin), teal and purple markers or paint. Stamp overlapping scales from the rim inward in two colors, then add a thin gold line at the edge. The gradient of scales reads as iridescent without any special supply.
4. Space "Galaxy" Plates
Theme: space, astronaut. Materials: dark navy plates, white and silver paint, a toothbrush (for spatter stars), a sticker planet or two. Paint the center deep navy, spatter white for stars with a flicked toothbrush, add a planet sticker off-center. These are the most striking of the set and the easiest to make in bulk.
5. Dinosaur "Fossil" Plates
Theme: dinosaur. Materials: tan plates, a small plastic dino toy, pencil, marker. Press the dino into the plate to leave a faint impression, trace it as a "fossil," and add a few "bone" lines radiating out. Kids love making their own species.
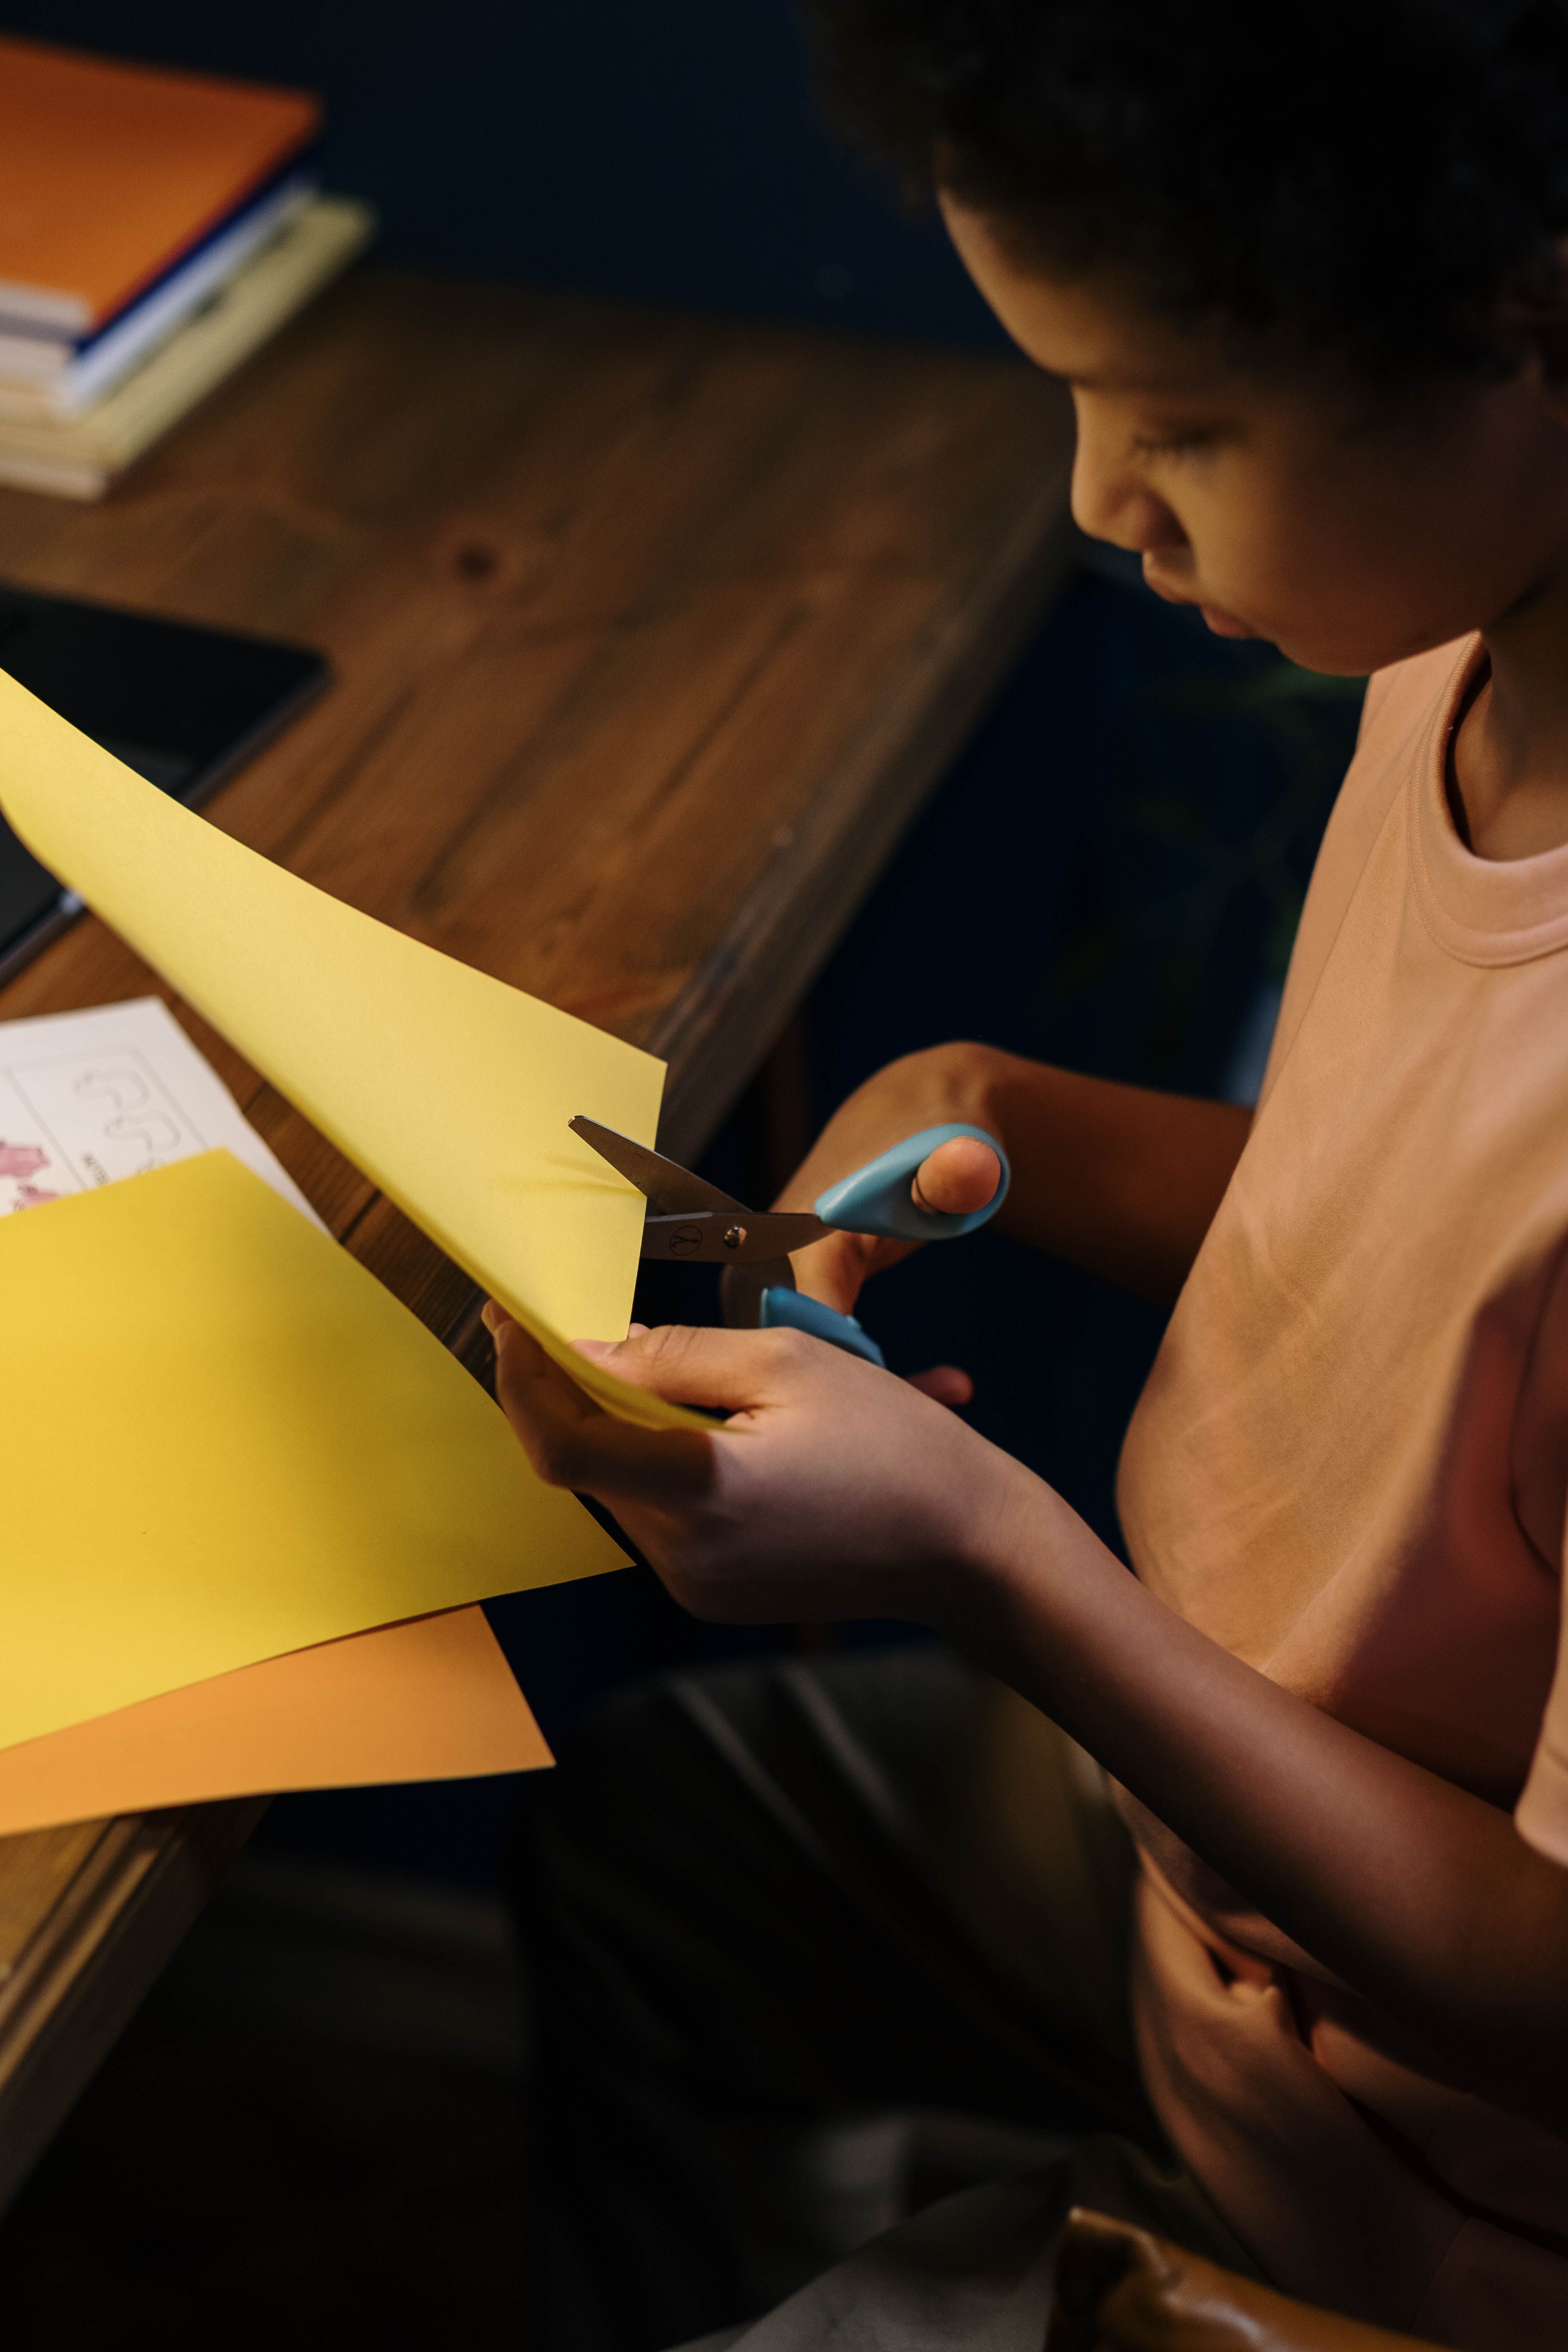
6. Pirate "Treasure Map" Plates
Theme: pirate. Materials: plates, weak tea or coffee (to stain), marker, a small "X" sticker. Stain the plate with cooled tea for an aged look, draw a dotted route to an X, and write "Ye Olde Feast" in the center. These set the tone at a buffet instantly.
7. Garden "Flower" Plates
Theme: garden, spring, tea party. Materials: plates, colored cupcake liners (petals), a button (center), glue. Glue liners around the rim like petals and a button in the middle. A ring of these down a table reads as a flower border.
8. Sports "Team Color" Plates
Theme: tailgate, game day, birthday. Materials: plates, team-color washi tape, a marker for initials. Tape a thick stripe around the rim in team colors and initial each plate for a seat assignment. Functional and on-theme.
9. Halloween "Spiderweb" Plates
Theme: Halloween, spooky. Materials: black plates, white chalk marker, a small plastic spider. Draw a web from the center outward with the chalk marker and rest a spider on the rim. The chalk wipes off if you want the plates reused.
10. Birthday "Confetti Number" Plates
Theme: any milestone. Materials: plates, adhesive dots or punched paper confetti, a marker. Write the age big in the center and ring it with confetti dots. Make one per decade for a photo wall, or one per guest's age for a laugh.

Running a Craft Station
If you're setting this up for kids, pre-cut the fiddly bits (horns, petals) and lay out one tray per craft with a sample finished plate on top. Ten minutes of prep per station saves forty minutes of "where's the glue" during the party. Keep markers washable and confetti large enough not to be a choking risk for under-threes. The party plates and napkins collection gives you plain and patterned bases to start from, and paper napkins in matching colors finish the set without a second supplier.
Budget and Materials
A full craft-station setup for 15 kids runs roughly: plain plates ($6–$10), paint and markers ($10–$15), yarn/tissue/liners ($5–$8), stickers and gems ($5). Total around $26–$38, and most supplies carry over to the next party. The plates themselves are the cheapest line item and the highest-impact result.
Timeline
One week out: pick 3 crafts, buy supplies, test one plate of each to confirm the method. Two days out: pre-cut fiddly pieces, label trays. Morning of: set stations with samples on top, keep wipes handy. During party: run the station in the first 90 minutes while energy is high, then let finished plates dry on a rack as decor.
Safety Notes
Use washable, non-toxic markers and glue rated for kids. Avoid small gems or confetti with children under three — choking risk is real. If you stain plates with tea or coffee, don't serve food on them afterward; keep craft plates separate from serving plates. Supervise scissors and any sharp tool; pre-cut instead of handing them out.
FAQ
Can I use the decorated plates for food? Only if you used food-safe, non-toxic paint and didn't stain them with tea. For serving, keep craft plates as decor and use plain ones for the meal.
How long does each take? Two to five minutes per plate once materials are laid out. Bulk them while watching a show the night before.
Will the paint smear? Acrylic and marker set permanently on coated plates; test one and let it dry overnight before the party.
Can adults do this too? Yes — the galaxy and treasure-map plates look great at grown-up parties and make easy take-home favors.
Storing and Reusing Decorated Plates
If you used non-toxic, food-safe paint and didn't stain the plate with tea or coffee, the decorated plates can serve a second life as party tableware — wash them gently by hand (the paint can flake in a hot dishwasher). More often, they become decor: pin them to a string as a bunting, stack them on a shelf as a themed display, or use them as reusable place cards at next year's party. Store flat in a poster tube or between sheets of tissue so the decorations don't crease.
For craft-station plates that were handled by kids, wash hands first and keep them separate from food plates — even washable markers aren't food-grade. Label a bin "craft only" so nobody serves snacks on a spiderweb plate by mistake. The point is to extend the life of the craft, not to blur the line between decor and dish.
Five More Quick Decorations
If the first ten weren't enough, five faster ideas for fill-in stations:
- 11. Dot Confetti Plate: A single color of adhesive dots scattered randomly — done in thirty seconds, looks like a speckle pattern.
- 12. Ribbon-Weave Plate: Cut the rim into tabs, weave a ribbon through them. Best for a crafty adult table.
- 13. Washi-Tape Stripes: Two or three washi-tape stripes across the center. Peelable, so the plate stays reusable.
- 14. Handprint "Critter" Plate: A kid's painted handprint becomes the body of a ladybug or frog with a marker face. The keepsake parents actually keep.
- 15. Number Banner Plate: Write the age big, punch two holes, string plates into a hanging number banner. Photographs better than a store banner.
These five are the "I need one more station" fixes. Keep the supplies in a labeled craft box so the next party starts with the bin, not a shopping trip. The party plates and napkins collection stocks plain bases year-round for exactly this.
Photographing Your Craft (and Sharing It)
A decorated-plate station produces great photos if you set it up to. Shoot the finished plates flat on a neutral surface in daylight — near a window, no flash, which flattens the texture. Group three or four by theme for a flat-lay, and capture one in a kid's hands for scale and warmth. These photos pull double duty: they're the party recap and they're free inspiration for the next host.
If you share them, tag the theme and the age — "safari 4th birthday plate craft" is the kind of long-tail search that brings another parent to your door. The paper napkins in matching colors make the flat-lay look finished without extra work.
Adapting the Crafts for Different Ages
The ten core ideas suit a range, but the supervision level changes by age. Ages 3–5: Pre-cut everything. They can glue, stick gems, and color, but scissors and small parts are a no. Keep sessions to 15 minutes — attention collapses after that. Ages 6–9: They can do the cutting with safety scissors and follow a sample. This is the sweet spot for the unicorn, mermaid, and dino plates. Ages 10+: Hand them the full kit and a photo; they'll improvise better than you planned. Adults: The galaxy, treasure-map, and flower plates are genuinely satisfying and make great take-home favors.
For a mixed-age station, set two trays: a "pre-cut, big-parts" tray for the littles and a "full kit" tray for older kids and adults. One sample per tray, and a clear "ask for help" signal so nobody silently struggles.
Cost Comparison: DIY vs Store-Bought Decor
A themed plate banner from a party store might run $15–$25 for a set of eight. The DIY version — plain plates ($4), markers and gems ($8), an hour of time — costs about the same in cash but gives you a custom result and an activity. The real saving is reuse: store-bought decor is single-use; decorated plates you keep can return as place cards or bunting next year.
The break-even is roughly three parties. After that, your craft box is "free" and every themed plate costs only the plate. For a host who throws several parties a year, the DIY route pays for itself fast — and the guests remember making the decor more than they'd remember a store banner.
Troubleshooting: When a Craft Goes Wrong
Even simple crafts fail sometimes. Marker bleeds through the plate: Switch to a plate with a coated surface, or use paint pens which sit on top. Glue won't hold the horn: Use a glue dot or double-sided tape; school glue needs too long to dry on waxy plate stock. Paint smears: Let each layer dry fully — a hairdryer on cool speeds it without warping. Kid hates their result: Have blank backups; a second plate five minutes later usually lands better, and the "failed" one becomes a practice scrap.
The fix for almost everything is to prep one yourself first. A tested sample tells you which supplies actually work on your specific plates, so the party-day station doesn't discover the glue fails on camera. The paper napkins in theme colors cover the table so even a messy craft station looks intentional.
A Sample Craft-Station Layout
A good station is laid out like a buffet: flow, not crowding. For a table seating six kids at once:
- Entry end: A tray of plain plates and a sample finished plate on a stand. Kids see the goal first.
- Middle: Two caddies — one "pre-cut bits" (horns, petals, stickers), one "full kit" (scissors, markers, glue). Separating them stops the littles grabbing sharp tools.
- Decor end: A "finishing" tray with gems, washi tape, and a wet-wipe tub. One adult monitors this end.
- Output: A drying rack (clothes drying rack or a line with clips) just past the table so finished plates don't pile into the work zone.
Allow 18 inches of table per child and a clear walkway behind the adult's chair. Too tight and the glitter migrates to everything. The party plates and napkins supply the plain bases in bulk, and paper napkins under the caddies catch the mess so cleanup is a single sweep.
Cleanup and the Post-Craft Reset
A craft station that's fun to run but miserable to close is a half-planned station. Build cleanup in from the start. Use paper napkins under every caddy so glitter and glue spots lift in one sweep. Keep a "wet-wipe tub" and a "trash tub" at the finishing end so kids bin their own scraps without a parent herding them. Assign one adult a ten-minute reset between waves if the party runs the station twice.
At the end, separate three streams: finished plates (to dry and display), reusable supplies (markers, scissors, caddies — back in the craft box), and true trash (used wipes, food-safe scraps). A labeled "craft box" with dividers means the next party starts in five minutes, not a shopping trip. The decorated plates, once dry, go on a string as bunting or into the host's "party box" for reuse — so the craft's value outlives the afternoon. The party plates and napkins supply both the bases and the cleanup layer in one order.
Building the Invite Around the Craft
If the decorated-plate station is the centerpiece, say so on the invite — "come ready to make your own safari plate" sets the expectation that this is a hands-on party, not a sit-and-watch. Ask guests to RSVP the kid count so you prep enough bases, and note "all supplies provided" so nobody brings a glue gun. For adult versions, frame it as a "craft and cocktail" so the grown-ups know they'll be making, not just admiring.
A craft-forward invite also lets you ask about allergies and ages in the same breath, which feeds your supply prep. The payoff is a party where the decor is made by the guests, the activity is the entertainment, and the take-home is something they built — a rare triple win that store-bought banners can't match. The paper napkins in theme colors finish the table so the craft station looks like part of the design, not a classroom corner.
Final Thoughts
Decorated paper plates are the rare party hack that's cheap, fast, and genuinely good-looking. Pick two or three ideas that match your theme, prep the bits ahead, and let the party plates and napkins and paper napkins collections supply the bases and colors. You'll spend less than a themed banner and end up with decor your guests made themselves.