


Halloween Party Planning Checklist: Timeline, Budget & Hosting Tips

The Difference Between a Stressful Halloween and a Good One
Almost nobody regrets the Halloween party they planned six weeks in advance. The regrets come from October 30: a last-minute store run for plates, a cake that did not set, and a house full of people while the host is still hanging decorations. Planning is not about being fussy — it is about protecting the one thing you cannot buy back, which is your own ability to enjoy the evening.
This is the checklist we would hand a friend hosting their first Halloween party on Saturday, October 31, 2026. It works for a 15-person gathering or a 50-person blowout, and it is organized by week so you can see exactly what needs to happen when.
Six Weeks Out: Decisions and Date
The first stage is entirely about deciding, not buying. Every choice you lock now prevents a scramble later.
- Confirm the date. October 31, 2026 is a Saturday, which means two things: more guests will be free, and many of them will also have trick-or-treat plans or another party. Decide whether you are hosting on the 31st, on the Friday, or on a nearby weekend, and state the time window clearly — a 5–8pm window leaves room for trick-or-treating afterward, which a 7–11pm window does not.
- Set the format. Drop-in open house, seated dinner, costume party, or kids' party with parents staying? These have very different implications for space, food, and supplies.
- Set an honest budget. Write the number down. A typical home Halloween party for 20 guests lands between $120 and $300 depending on whether you cook or cater.
- Choose the guest list size. Count intended guests and then plan food and supplies for 15% more, because Halloween guest lists grow.
- Pick a palette. Orange and black, gothic purple, vintage rustic, or a playful pink. One clear palette makes every later purchase easy.
Four Weeks Out: Invitations and the Big Purchases
Four weeks is the ideal sending window. It is early enough that people have not committed elsewhere, and late enough that they know their October schedule.
- Send invitations with the date, time window, address, whether costumes are expected or optional, whether children are welcome, and whether food is provided or potluck. Ambiguity on any of these generates questions on the day of the party.
- Ask about dietary restrictions and allergies in the invitation. It is far easier to plan around them now than to improvise at the buffet.
- Buy the tableware now. This is the single most important line item to purchase early, because Halloween paper goods genuinely sell out. Start with our Halloween party supplies collection and work from the serving math: roughly 2 plates, 3 napkins, and 2 cups per guest, plus 15%.
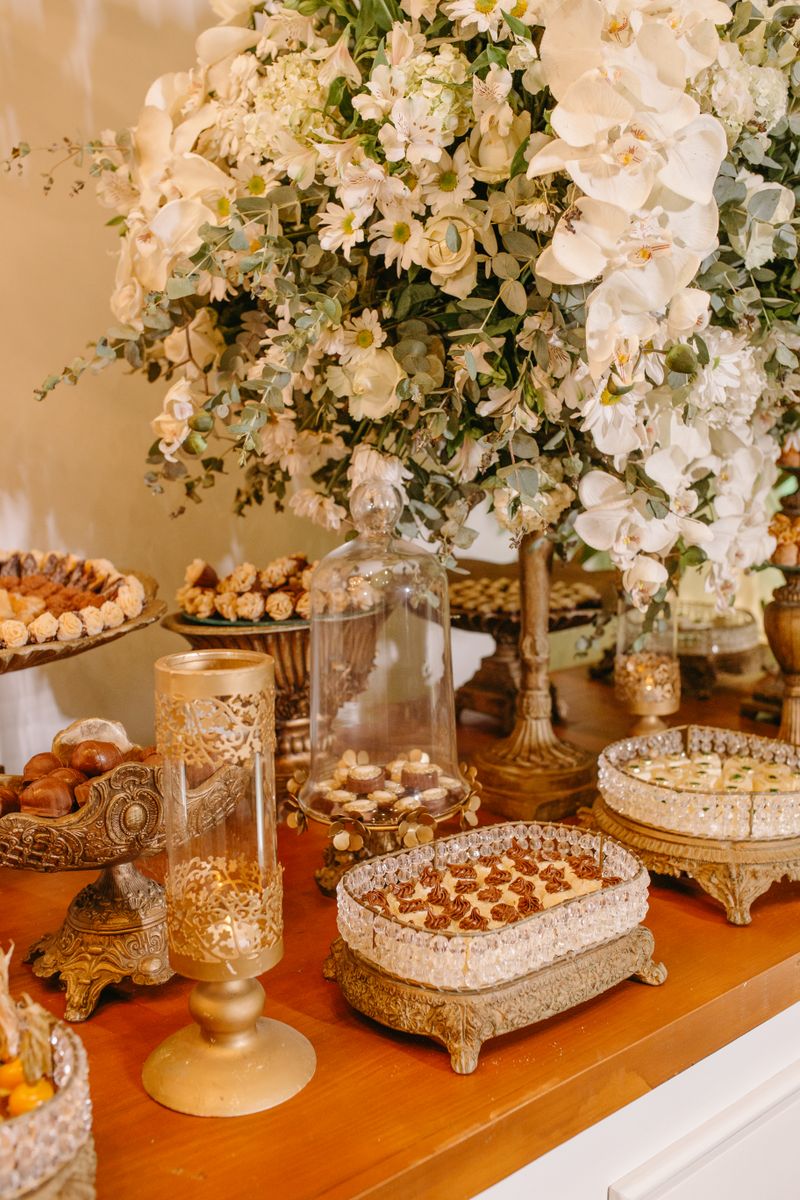
- Buy or reserve the centerpiece elements. Reusable items — lanterns, candlesticks, pumpkins, trays — can be bought now and reused for years.
- Book help if you need it. A babysitter for the kids' room, a designated photo person, or a friend who arrives early. Assign roles now rather than hoping.
Two Weeks Out: Menu, Music, and Activities
- Finalize the menu. Choose dishes that can be made ahead. Slow-cooker chili, a baked pasta, and a big pot of punch scale effortlessly and let you leave the kitchen.
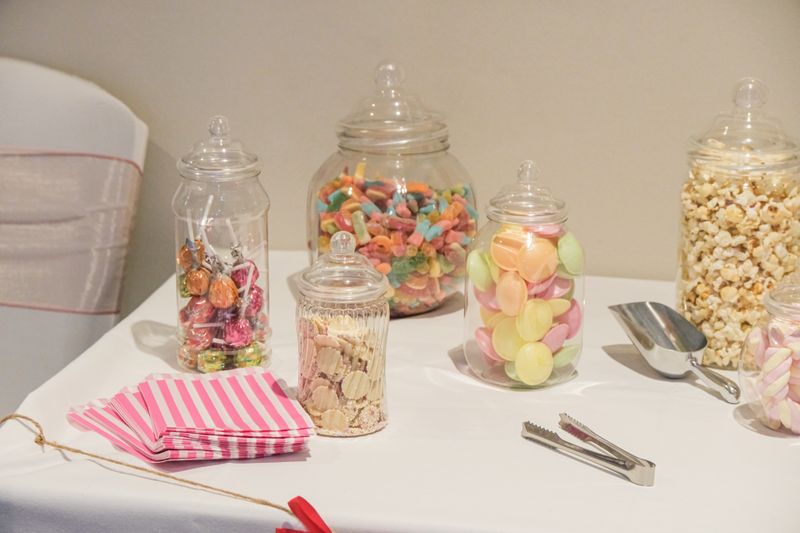
- Plan the sweets. Decide on one showpiece dessert, one candy station, and one thing guests can grab without a plate — cookies or brownies work.
- Build the playlist. Two to three hours of music, and test it on the actual speaker you will use. Halloween playlists are easy: think atmospheric classical, surf-rock classics, and a modern pop set for the later hours.
- Plan activities. Even a small party benefits from one structured activity. A costume contest, a pumpkin-decorating station, or a trivia round gives the evening a shape.
- Confirm RSVPs and re-check the headcount, then adjust supplies if the number moved significantly.
- Plan for children specifically, if any are coming: a designated room or table, snacks that do not require a plate, and a candy strategy.
One Week Out: Prep and Shop for Perishables
- Shop non-perishables and any drinks that will not spoil.
- Make and freeze what you can. Chili, soup, and many desserts freeze and reheat beautifully — this is the single biggest time-saver available to you.
- Assemble props and photo-corner items and set them aside in one box so day-of setup is mechanical.
- Check your lighting. Do you have enough candles or LED candles? Buy more than you think you need; light is what creates the atmosphere.
- Confirm your helpers. A quick message to the photo person and the early-arrival friend prevents day-of confusion.
The Week Of: The Final Push
- Monday–Tuesday: Final grocery run for perishables and ice. Confirm the guest count one last time.
- Wednesday: Prepare any dish that improves with a day's rest, like chili or a marinated salad.
- Thursday: Set up any decorations that are not on the table and can be done in advance — porch, hallway, photo corner.
- Friday: Set the table entirely. Tablecloth, runner, plates, napkins, centerpiece, and name cards all go down the night before.
- Saturday morning: Prep the food that cannot be done earlier, chill drinks, and check the playlist.
Setting the table the night before is the highest-leverage single habit in party hosting. It converts an hour of fiddly work into free time on the day, and it means the room looks finished the moment guests arrive.
Day Of: An Hour-by-Hour Plan
- Morning: Cook anything that needs the oven. Clear the fridge to make room.
- Early afternoon: Set out the non-perishable food, arrange the candy station, finalize the playlist.
- Two hours before: Put out the trash bins and a bag for recycling. Do a lighting check and swap any bulbs for warm or colored ones.
- One hour before: Light the candles, start the background music at low volume, and place the perishable food.
- Arrival: Stand near the door for the first 20 minutes. Guests who arrive and cannot find the host feel awkward, and that feeling sets the tone for the night.
- Mid-party: Run the activity or contest about an hour in, once everyone has eaten.
- Final hour: Turn the music down slightly, put out water, and set out a container for leftovers so guests can take food home.
Budget Breakdown That Actually Adds Up
For a 20-guest home party, here is a realistic split of a $250 budget.
- Food: $100 (40%) — One main, one side, one dessert, one candy station. Cooking from scratch rather than catering is what keeps this number low.
- Drinks: $60 (24%) — A punch or cider base, a few bottles of wine or beer if appropriate, and plenty of non-alcoholic options and water.
- Tableware: $40 (16%) — Plates, napkins, cups, bowls, and snack cups for everyone, with a buffer. Paper goods are the cheapest visible upgrade at any party.
- Decor: $40 (16%) — Candles, one centerpiece, and a few reusable props. Reuse these next year and this line drops toward zero.
- Misc: $10 (4%) — Ice, trash bags, and the small things nobody remembers to plan for.
If you need to cut, cut decor before food and tableware. Guests remember a full table and a good meal far longer than they remember a garland.
Hosting Notes: Food Safety, Allergens, and Alcohol
These are the details that separate a smooth party from a memorable-for-the-wrong-reasons one.
- Allergens: Halloween food is heavy on nuts, dairy, and chocolate. Label every dish with its main ingredients using a small card, and keep at least one nut-free and one dairy-free option clearly marked.
- Temperature: Do not leave dairy-based dips or cream desserts out for more than two hours. Use a smaller bowl and refill it from the fridge rather than putting the whole quantity out at once.
- Alcohol: If you serve it, also provide two non-alcoholic options that look equally interesting, keep food available throughout, and never push refills. Watch the punch bowl — a sweet punch hides alcohol well.
- Candles: Keep open flames away from paper tableware and costumes, and switch to LED candles for any table where young children will sit. Halloween costumes are frequently made of highly flammable synthetic fabric, which makes this the most important safety note in the guide.
- Trick-or-treat overlap: If your party runs while trick-or-treating happens, decide who answers the door. A single assigned person works better than everyone taking turns and losing track of the conversation.
- Pets: Even friendly dogs get overwhelmed by a house full of costumed strangers. Put pets somewhere quiet before guests arrive.
Weather and Space Contingencies
Late October weather is unpredictable. If any part of your plan depends on the outdoors — a porch candy station, a fire pit, a photo corner on the steps — decide now what the indoor version looks like. A tent or a covered porch solves most of this. Indoors, remember that a crowded room heats up quickly; have a window or door you can crack and a fan you can bring out, especially if the costume theme means heavy clothing. If space is genuinely tight, reduce the guest list rather than the food — a comfortable 15 people beats a cramped 30.
Cleanup: The Plan Nobody Makes
Cleanup is dramatically easier if you prepare for it before the party starts. Put out two lined trash bins — one for trash, one for recycling — and a third container for food waste. Use paper tableware so the table can be cleared in one pass. Before bed, do a ten-minute reset: bin the paper goods, put leftovers in containers, and collect the glasses. The room will be 80% back to normal in ten minutes, and you will not wake up to a disaster zone.
Frequently Asked Questions
How far in advance should I send Halloween invitations? Four weeks is ideal, three weeks is acceptable. October calendars fill quickly, especially when the 31st falls on a weekend.
Should I host on October 31 or an adjacent weekend? The 31st suits adults and families with older children. If your guests have younger kids who trick-or-treat, host on the Friday or the following weekend instead, or run an early window from 4–6pm.
How much food per person should I plan? For a dinner party, one main portion plus sides per guest, plus one dessert. For a drop-in party, plan 4–6 bites per person per hour and double the desserts.
What if guests do not RSVP? Plan for 15% more than your confirmed list and set a firm RSVP deadline. If the number is unmanageable, a "bring a dish" potluck request sent a week out fixes the food side.
Do I have to wear a costume as the host? You do not have to, but hosting in costume signals that costumes are welcome and makes guests feel less self-conscious. A minimal costume — a hat, a cape, a themed apron — is enough.
How do I handle a party with both kids and adults? Split the space and the schedule. Feed children first at their own table, then run a kids' activity while the adults eat. Our Halloween snack cups and goodie bags make the kids' section easy to contain.
What is the most commonly forgotten item? Ice, trash bags, and enough water. Also a working corkscrew or bottle opener, which is a classic 8pm crisis.
How do I keep costs down without it showing? Cook the main dish yourself, reuse decor from previous years, use paper tableware, and spend the savings on lighting. A dark room with good candles looks expensive at any budget.
Invitation Wording That Prevents Questions
Most party-day chaos traces back to an ambiguous invitation. Include six pieces of information and you will field almost no follow-up questions. State the date and the exact start and end times, because "come over Saturday" produces guests who arrive at wildly different hours. State the address, plus parking notes if parking is difficult. Say whether costumes are required, encouraged, or optional, since guests hate being the only one in costume or the only one out of it. Say whether children are welcome and whether a full meal is being served or it is drinks and snacks. Ask for dietary restrictions and give a firm RSVP date. Finally, mention anything guests should bring, such as a pumpkin to carve or a dish to share. A well-written invitation does more pre-party work than any other single task, and it takes only a few extra minutes to compose.
The One-Page Master Checklist
Write your entire plan on one page and put it on the fridge. It should contain the guest count, the menu, the shopping list, the activity order, and the day-of timeline. One page matters: a multi-page plan gets ignored, while a single page gets read. Cross items off as you go, and note who is responsible for what if you have helpers. On the day itself, that page answers almost every question you would otherwise be holding in your head, which frees your attention for guests where it belongs. Keep the page in a folder afterward — next October you start from a working plan instead of a blank sheet.
Seating, Flow, and Practical Space
Think about how people will move before you think about how the room will look. Guests need a clear path between the door, the food, the drinks, and the bathroom, and that path should not run between the table and the wall. If you are expecting 20 people in a room sized for 12, accept that it will feel full and design for standing rather than seating: clear away unnecessary furniture, put drinks at one end and food at the other to split the crowd, and create one obvious quiet corner for anyone who needs a break. Children need a low, contained zone where they can eat and play without being underfoot, ideally with a supervising adult nearby. Getting the flow right prevents the two most common complaints at a crowded party, which are nowhere to put a drink down and no way to get to the food.
Plan the Party, Then Enjoy It
Halloween rewards the host who started early. Lock the date and palette six weeks out, buy the tableware four weeks out, set the table the night before, and keep the day-of plan simple enough to actually follow. The whole point of a checklist is to get you to the moment the first guest arrives with everything already handled.
Start with your tableware from our Halloween party supplies collection, and fill in cups, cutlery, and bowls from our party tableware range. Buy in early October, and October 31 will feel like a party you are attending rather than one you are running.