


Ice Cream Social Party Ideas: Build the Perfect Sundae Bar

An ice cream social is the most forgiving party format there is. There's no sit-down meal to time, no elaborate theme to commit to, and no expectation that anyone be anywhere at any particular moment. The whole party is one table, and the guests build their own plates. That's why it works equally well for a six-year-old's birthday, a neighbourhood block party, a school fundraiser, and a grown-up Sunday afternoon in August.
What it isn't is effortless. An ice cream social succeeds or fails on three things most hosts don't plan properly: the topping list (too few and it's boring, too many and everything melts), the vessels (thin bowls that go soggy, or tubs that turn into a free-for-all), and a serving flow that keeps the line moving. Get those right and forty guests will happily stand in your garden for two hours. Get them wrong and you'll be spooning rock-hard ice cream into collapsing paper bowls while a queue forms.
This guide covers the complete build: how to structure a sundae bar, a full topping checklist with quantities, how to handle dairy-free, vegan, nut-free and gluten-free guests without a separate table, the serving ware that actually holds up, theme variations, the rest of the menu, games, how to scale it to 100 guests, and a realistic budget.
Why an Ice Cream Social Works So Well
Before the logistics, it's worth being clear about why this format punches above its weight.
It is inherently interactive. Guests don't wait to be served — they participate. That single change converts a passive event into a social one, and it gives strangers something to talk about at the table.
It is almost impossible to get wrong on the food side. Nobody's meal is cold, nobody's steak is overcooked, and there is nothing to coordinate in the kitchen. Your entire risk sits in storage temperature and topping supply.
It scales linearly. Ten guests and a hundred guests are the same party with more scoops. That's not true of almost any other format.
It's a natural fit for mixed-age groups. Children can build a sundae themselves; adults can make it as simple or as elaborate as they want. Nobody is sitting at a kids' table.
It needs no theme to feel finished. Add a colour scheme and some bunting and it's a party. Skip both and it's still a party.
Building the Sundae Bar: The Centerpiece
The bar is the entire party. Design it like a production line, not a buffet.
Arrange in consumption order, left to right. Bowls and cones first, then scoops, then sauces, then dry toppings, then cutlery and napkins at the end. Guests move in one direction and never double back into the line. Most hosts put the toppings in a random cluster and then wonder why the queue stalls — it stalls because people reach backwards over each other.
Give each item its own vessel and its own spoon. Nothing kills a topping bar faster than shared spoons and cross-contamination between a nut bowl and a gummy worm bowl. One small bowl or cup per topping, one spoon per topping. This also makes the bar look abundant and organised, which matters more than you'd think.
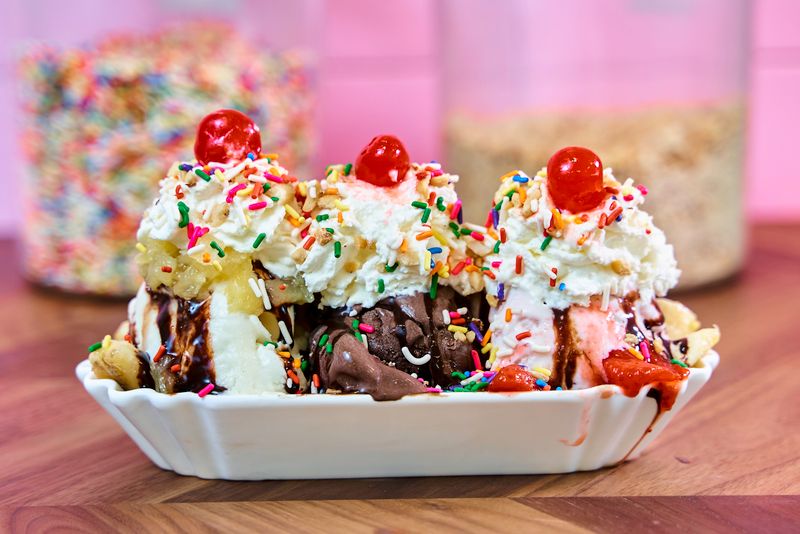
Plan a two-tier layout. Use a table plus a riser or a second small table for the accessories — cutlery, napkins, cups, water. A single crowded table becomes a bottleneck; two levels keep the main line clear.
Keep a toppings restock tray under the table. Bring half of each topping out at the start and keep the rest in a cooler within arm's reach of whoever is running the bar. Toppings run out faster than hosts expect, and restocking from a distant kitchen mid-party is the thing that breaks the flow.
Put the ice cream last before the toppings, or first — but not in the middle. There are two workable layouts: cones and bowls at one end with scoops immediately after, or a two-station setup where guests collect their vessel and go straight to the freezer chest. What doesn't work is threading a queue back past a cold chest in the middle of a table.
Have a scooper per flavour and a warm water cup. A scoop sitting in a cup of warm water between uses glides through hard ice cream. This tiny detail is the difference between a bar that moves and a bar where one guest holds up twelve people trying to lever out a brick of chocolate.
The Complete Topping Checklist
Aim for four to six items in each category. Fewer than three in a category reads as sparse; more than eight and guests freeze up and take the same three things they always take.
Sauces (4–6). Hot fudge, chocolate syrup, caramel, strawberry, butterscotch, and one wildcard such as raspberry coulis or a berry compote. Serve warm sauces in squeeze bottles or small jugs — bottles are tidier at a big party and jugs look better at a small one. Warm the sauce, not the ice cream.
Crunchy (4–6). Sprinkles in at least two colours, crushed cookies, crushed waffle or sugar cones, granola, toasted coconut, crushed pretzels, and crushed candy bar. The cone crumbs are the sleeper hit — they use up the broken cones and taste like a sundae shop.
Fruit (3–4). Sliced strawberries, blueberries or raspberries, sliced banana, and a fruit compote or pie filling. Bananas need to be sliced close to serving time or they brown; a squeeze of lemon slows that considerably.
Candy (3–5). Gummy bears or worms, mini chocolate chips, chocolate candies, marshmallows, and something sour. Keep a nut-free zone separate from this — see the dietary section below.
Baked and soft (3–5). Brownie cubes, cookie chunks, mini doughnuts, pound cake cubes, and marshmallow fluff or whipped cream. Brownie and cookie chunks are the two that make adults come back for a second bowl.
Nuts (1–3, kept isolated). Chopped peanuts, crushed almonds or toasted pecans — served in their own labelled cluster with their own spoons, well away from everything else.
Ice cream itself (3–6 flavours). Vanilla, chocolate and strawberry cover 80% of guests. Add one fruity non-dairy option, one indulgent flavour, and one novelty such as a bright blue or a cookie-dough flavour if children are attending. Two gallons (about 7.5 litres) serves roughly 30 people at two scoops each, so plan about 1 quart per ten guests as a floor and adjust upward if your guest list skews young.
Handling Dietary Needs Without a Second Party
An ice cream bar has more allergen surface area than almost any other menu, and handling it well takes about twenty minutes of preparation.
Provide two non-dairy options, not one. A coconut or oat vanilla and a fruit sorbet covers dairy-free, vegan and most lactose-intolerant guests, and it means those guests aren't limited to a single choice. Keep sorbets physically separate — a shared scoop between sorbet and dairy defeats the point.
Separate the nuts completely. A distinct cluster, distinct spoons, and a printed label. Nut-free guests should be able to use the whole rest of the bar without hesitation.
Label everything with a card. Name of the item plus "contains: dairy / nuts / gluten / egg" where relevant. Printed cards look intentional; marker on a plastic tub looks improvised at exactly the moment a concerned parent is reading it. Labels also cut down enormously on the number of times you'll be asked what's in something.
Watch the cross-contamination points. The tongs, the scoops and the ice cream tubs are the real risks, not the topping bowls. Use one scoop per flavour and never return a scoop from a dairy tub into a non-dairy one.
Add gluten-free vessels. Most guests want a bowl rather than a cone, so bowls solve gluten-free automatically. If you're serving cones, keep a couple of sealed gluten-free packs aside rather than in the general stack.
Keep one cold item that isn't ice cream. Fresh fruit, a fruit salad, or a chilled drink for guests who want something light. It costs very little and makes the bar feel like a menu rather than a dessert table.
Serving Ware That Makes or Breaks the Bar
This is the section that separates a smooth ice cream social from a soggy one, and it's the section most hosts skip.
Bowls matter more than anything else on the table. Thin, uncoated paper bowls get damp and start to sag within a couple of minutes of a scoop landing in them, and guests end up holding a bowl from the bottom with both hands. Coated or sturdy compostable bowls hold their shape through a full sundae and let people actually socialise while eating. Our paper bowls collection covers sizes from a single scoop up to a full build-your-own, and if you're hosting anything above twenty guests, it's worth stepping up a size so nobody has to balance a double scoop in an eight-ounce bowl.
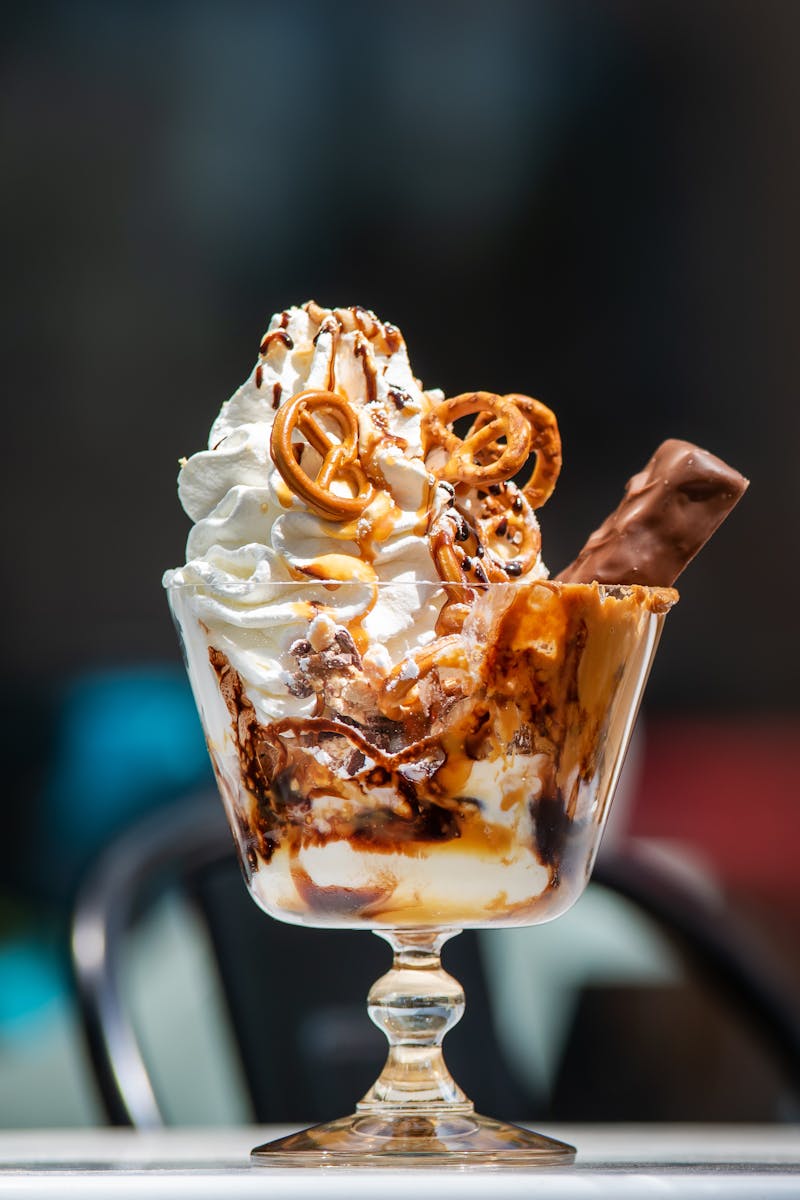
Small cups beat big bowls for toppings. The cleanest-looking topping bars use small individual cups, one per topping, arranged in rows. It's tidier, it's easier to label, it keeps spoons separated, and it makes restocking a simple swap rather than a messy transfer. Our snack cups are sized for exactly this and are the item that most reliably turns a chaotic table into a well-organised one.
Add a cup for drinks and for small sides. Guests will want water, and they'll want somewhere to put a handful of fruit or a cookie. A stack of party paper cups next to a water jug at the far end of the bar keeps the main line moving, because guests who need a drink don't have to queue behind the ice cream.
Match napkins to the theme and put them where the mess is. Set napkins at the topping end of the table and again near the seating. Sundaes are messy; a napkin stack that's fifteen feet away doesn't get used. Consider heavier napkins — they handle a chocolate sauce drip far better than thin ones.
Add plates under the bowls for a buffet. If guests are eating standing up, a plate under the bowl gives them a surface for a spoon and lets them hold a second item. It also lands the theme colour on the table. Our summer party plates and napkins range is built for exactly this kind of casual outdoor setting, and matching plate and napkin sets make a simple table look designed with zero extra effort.
Provide proper scoops. A good disher with a spring release is worth buying if you host more than once. Ladles and spoons make an unholy mess of a tub and slow the line down badly.
Decorations and Theme Variations
An ice cream social doesn't need much decor, but a consistent palette does a lot of work for almost no money. Pick one of these directions and stay in it.
Retro diner. Red and white, black-and-white check, chrome accents, paper straws, a vintage-looking sign, and a playlist of 1950s and 60s rock and roll. This is the most photogenic option and the easiest to execute with disposable tableware — the check pattern does all the visual heavy lifting.
Pastel parlour. Soft pink, mint, lavender and cream; balloons; bunting; scalloped edges. Excellent for a first birthday or a baby shower, and it photographs beautifully in daylight. Keep the ice cream flavours in bright colours so they pop against the pastel background.
Neon and ice cream. Bright pops of colour on white, blacklight-free neon signage, and bold paper goods. This version works for teenagers and adults, especially as an evening event with string lights. Add glow sticks to the favour bags and it becomes an after-dark party.
Rustic garden social. Wooden crates as risers, burlap or linen runners, wildflowers in small jars, chalkboard labels. Pair with mason-jar-style cups and it reads as a considered, grown-up afternoon. Best for a summer evening outdoors.
Ice cream birthday. Lean into the birthday angle: a banner, a "make your own sundae" sign, a piñata, and candles in one giant scoop-shaped dessert. Add a small cake if you need something to sing over — a sundae alone doesn't hold a candle.
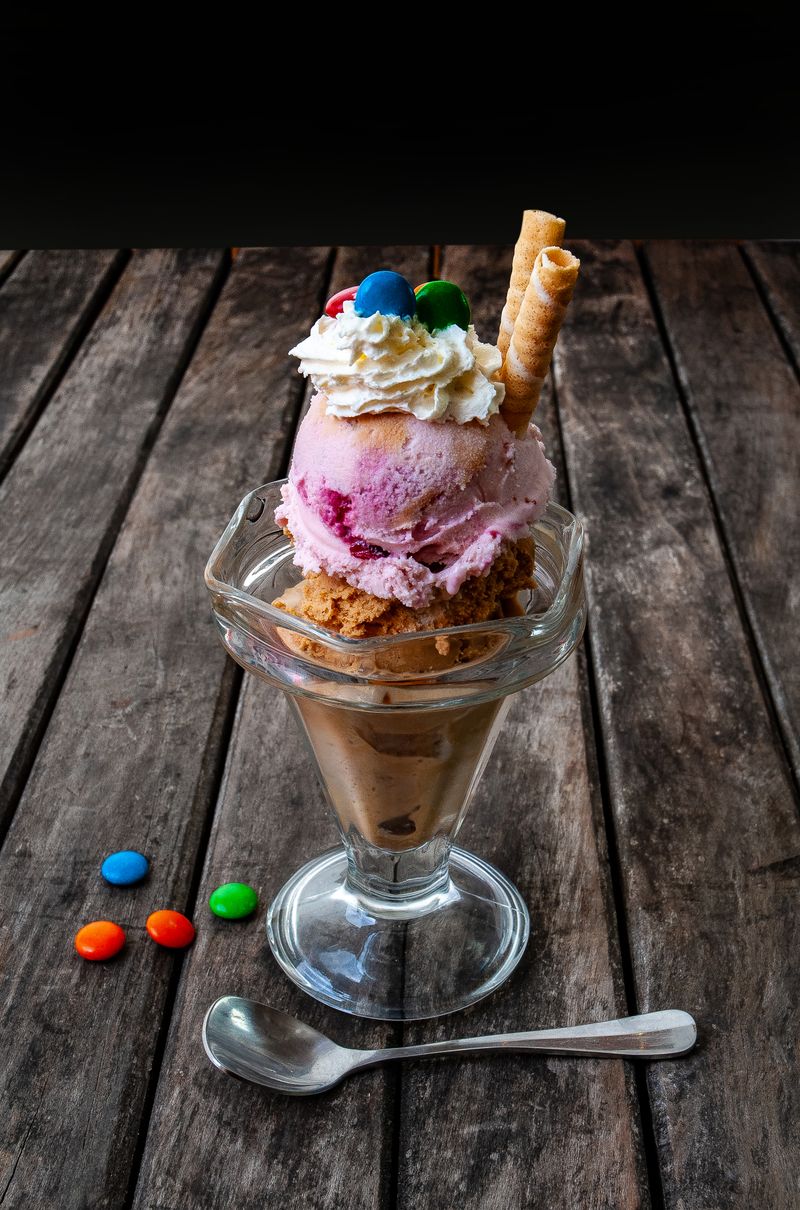
A few decor elements that always pay off: a hand-written or printed sign that says "Build Your Own Sundae" at the head of the bar; chalkboard or printed labels on every topping; a bunting or banner line over the table; balloons clustered at the entrance; and one dedicated photo spot with a backdrop. That last item gets used far more than any other decoration you'll buy.
Beyond Ice Cream: Filling Out the Menu
An ice cream social can absolutely be just ice cream, particularly if it's an afternoon event. If it's replacing a meal or running more than two hours, add a light savoury layer so guests aren't sugar-loaded by hour one.
- Sliders or mini sandwiches — pre-assembled and served at room temperature, so nothing needs timing.
- A build-your-own sandwich or wrap platter — the same interactive logic as the sundae bar.
- Popcorn bar — savoury popcorn with its own toppings (nutritional yeast, herbs, chilli) in small cups. Pairs neatly with a sundae bar and shares the same table format.
- Fruit platter and veggie cups — genuinely welcome at a dessert-heavy party, and the item parents will thank you for.
- Lemonade, iced tea and flavoured water — one jug each, positioned away from the ice cream line.
For dessert beyond sundaes, keep it simple: ice cream sandwiches pre-assembled and frozen, ice cream floats, or a single large ice cream cake. All three are make-ahead and don't compete with the bar.
Games and Activities
Ice cream socials work without games, but a couple of structured moments give the party shape and keep children occupied while adults finish eating.
Sundae contest. Two or three categories — most beautiful, most creative, best-tasting — so several people win. Guests build, then display, then everyone votes. It's the single most reliable activity at this kind of party.
Name that flavour. Blindfolded tasting of three or four ice cream flavours. Absurdly popular with all ages and needs almost no setup.
Guess the number. A jar of sprinkles or gummy bears with a guess sheet. Costs four dollars, runs passively all afternoon, and gives guests a reason to circle back to the table.
Ice cream trivia. Ten questions about ice cream history and flavours, played in teams. Good for older groups and for events where people don't know each other.
Relay or build race. Two teams race to assemble a sundae from a set list of toppings. Do this outdoors, over a tarp, and expect a mess. It's a guaranteed highlight for children.
Photo contest. Guests photograph their own creation in the photo spot and share it with a hashtag. Free engagement, and it spreads your party further than anything else you can organise.
Scaling Up: Block Parties, School Events and 100+ Guests
The bar format holds at any size, but the failure points change as you scale.
Split into multiple identical bars. Above roughly forty guests, one bar creates a permanent queue. Two bars of twelve toppings each serve faster than one bar of twenty-four, and they let you position stations in different parts of the space. Fifty guests per station is a reasonable ceiling.
Switch to pre-scooped ice cream. For large events, scoop ahead of time into trays, refreeze, and serve with tongs. It's less theatre than live scooping but roughly four times faster and it removes the biggest bottleneck at scale.
Move to bulk bins for toppings. Deli cups with a spoon each don't scale to 100 people. Use shallow trays or half-pans with serving tongs, and assign one volunteer per bar to restock continuously.
Reorganise the toppings by category into separate tables. Above about sixty guests, give sauces, dry toppings and candy each their own station. Guests move through in a line and the total throughput roughly doubles.
Manage cold chain seriously. For outdoor events over two hours, use insulated coolers with ice and rotate from a spare cooler in the shade. Ice cream that softens past a certain point can't be rescued, and toppings that warm up lose their crunch.
Assign clear roles. One person per bar restocking, one person managing ice cream, one person handling drinks, one person on photography, and one person who owns the rubbish and recycling. Five volunteers at 100 guests is realistic; two or three people will burn out.
Plan waste deliberately. Set out half of every topping at the start and refill as needed. Leftover sealed toppings keep; leftover opened ones don't. Having a second sealed container of each topping means you can serve confidently without overstocking the bar and throwing food away.
Planning Timeline and Budget
Three weeks out. Fix the date and time, send invitations, decide the theme and palette, and set your guest count. If you're buying scoops, bowls or decorations, order now — cheap tableware sells out in summer.
Two weeks out. Lock the topping list into four to six items per category. Choose flavours and quantities. Plan the full bar layout on paper. Source any allergen-friendly items.
One week out. Buy non-perishables: sprinkles, cookies, candy, sauces, cups, bowls, napkins. Buy freezer bags and a spare cooler. Write and print your topping labels and bar signs.
Two days out. Buy fresh fruit, dairy, and non-dairy options. Slice brownies and bake or cut cookies. Freeze the ice cream for at least 24 hours — ice cream bought the same day and put straight into a cooler will be too soft by party time.
Party day. Set the table first and lay out every vessel before any food comes out. Put ice cream into coolers about twenty minutes before guests arrive — enough to soften for scooping, not enough to melt. Bring out half the toppings, keep the rest cold and within reach.
Budget shape. Ice cream is usually around a third of the food spend; toppings about a third; tableware, napkins and decorations the remainder. Tableware and decor are where a tight budget can be trimmed without anyone noticing — paper goods in a consistent colour look intentional at almost any price point, and the toppings are what guests actually remember.
Ice Cream Social FAQ
How much ice cream per person? Plan for two scoops per guest, which is roughly one quart per ten people. If children dominate the guest list, add 20%. If you're serving a meal first, subtract about 15%.
Can I make this a meal instead of a dessert? Yes — treat the same bar format as a savoury station (chilli, baked potato, taco or salad bar) and add a smaller dessert bar beside it. The self-build logic is what makes it work.
How do I keep ice cream from melting? Buy and freeze at least 24 hours ahead, transport in insulated coolers with ice, and bring out only what you'll use in the next thirty minutes. On a hot day, use two coolers and rotate rather than leaving one open.
What if I don't have a freezer big enough? Ask a neighbour or buy a chest cooler and line it with ice packs. Bulk tubs in a well-packed cooler hold well for three or four hours; just don't keep opening it.
Is this a good birthday party theme? It's one of the best for mixed-age guest lists. Add a banner, a cake for the singing, and a sundae contest, and it reads fully as a birthday rather than a random dessert table.
How many toppings is too many? More than about twenty total items across all categories and the line slows down and food gets wasted. Four to six per category is the practical sweet spot.
What about a rainy day? Move the bar indoors to a kitchen island or dining table and put down a wipeable tablecloth. The format survives indoors fine — just keep the ice cream cooler closer to the bar, since indoor freezer trips are still trips.
Should I serve cones or bowls? Both. Bowls are easier, safer for children, and handle more toppings; cones are wanted by a third of guests. Supply roughly two bowls for every cone.
Can I do this in winter? Absolutely, and it's a nice counter-programming move. Move it indoors, use a warm-sauce station and hot chocolate alongside the bar, and lean into a cosy rather than summery palette.
One Table, One Great Party
An ice cream social is the rare party that's genuinely easy to host well, because all your effort concentrates in one place. Line up the bar left to right in consumption order, give every topping its own small vessel and its own spoon, buy bowls that hold their shape, label everything, and keep half the toppings in reserve. That's the whole method, and it works for eight guests or a hundred.
Build the bar around three things. Start with sturdy paper bowls so nobody's sundae collapses halfway through, organise your toppings in snack cups with one spoon each, and set out summer party plates and napkins to pull the table together. Add small party favors for children and you've covered the entire party with one shopping list.